June 5, 2013

Ready for June 8th at the Swedish Club?

Just about everything has been finished up. I’ve got the dash finished up, hood latch working and the original style grille temporarily installed. The short list of what is left:

1. bumper stainless steel strips – need to make custom brackets to accommodate them on the later 1970s bumpers
2. adjust the doors and hood so they hang more properly
3. install side molding
4. paint and install badges

May 24, 2013

Teak iron on

I decided to go with Teak laminate rather than Walnut. Teak has a nicer grain, and smells good too. However, it does seem a little more difficult to work with. I’ve ironed on the laminate and will cut out the switch holes and sand.

May 12, 2013

Wood test #1 – does it work?

The original wood trim for the control switches is essentially a picture of wood on thin contact paper. Over the years this paper can become damaged and begin to peel. This was one of the projects I was really looking forward to. I got a short roll of pre-gummed real walnut wood laminate and cut a test piece to mount on a spare center control plate. I measure the gap and cut the wood using a pair of shears and then trimmed it using a paper cutter. I then used a banding iron on medium high to activate the glue. I do not know the exact temperature where the glue becomes active, however I know that it is higher than a locked up car on a summer day.

After the glue cooled, I sanded the wood and applied a thin coat of linseed oil. When I do this for the real deal, I’ll likely sand from 600 to 1800 grit and use linseed oil and wax to finish. I was concerned that the linseed oil may affect the glue, but it does not seem to affect the bond.

Before:

Saab 060

The test piece:

February 27, 2012

rebuilding the lower console

I was sorting through the parts boxes and I really have a lot of detail work to get done as re-assembly is going to go pretty quick.

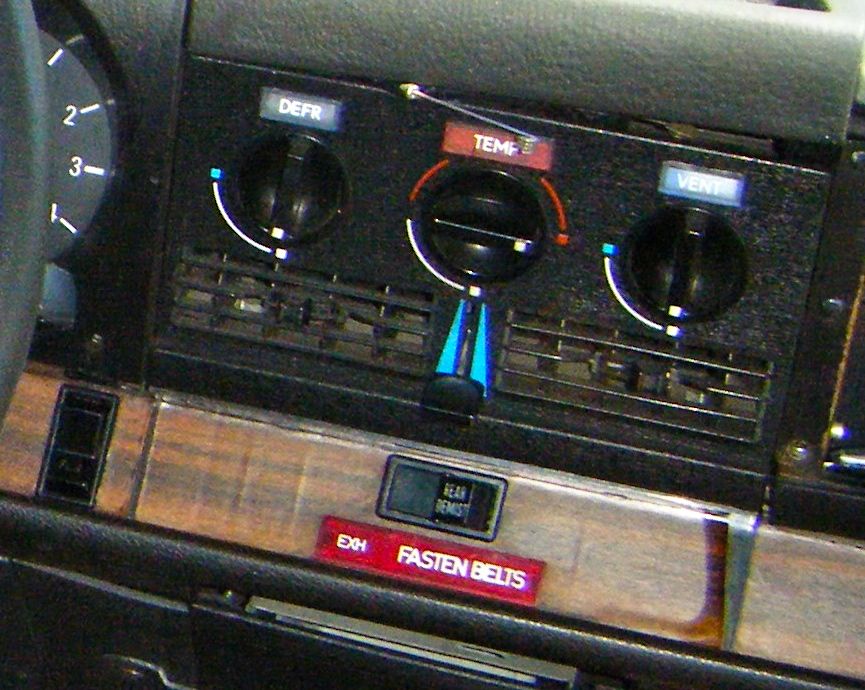
The original lower console from about 1972 on used a paper strip of simulated wood. Unfortunately this paper peels, fades and shows the outlines of some of the optional openings in the lower console.

There are some really great wood laminates available today and I found a roll of 1/32″ (or so) thick REAL walnut which is thick enough to be sanded and finished, but thin
enough that it can be trimmed with a sharp knife or crafting small saw.

I’ve also been going through all the switches and cleaning out the old sticky brown great with fresh lithium grease. That old grease is actually a big problem, especially for the most used switches like the fan and light switch. They get hard to operate and can end up breaking. In fact, this is what happened to the fan switch. The contacts needed to be burnished and it had to be sealed with JB weld as the clips had broken.

more to come from this later …