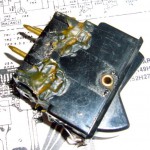
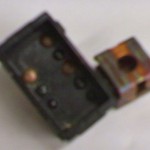
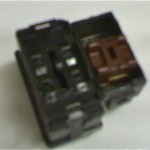
The headlamp and fan switch are notorious for breaking. This is due to a few of reasons: 1. They’re the most used, 2. The grease used in the switch hardens over time, 3. There are four retaining tabs that become brittle and break. Usually what happens is the switch gets difficult to operate and when forced it breaks its tabs on one side and pops open. They can also break when disconnecting the switch from the wiring harness.
Even if you find an intact switch, it may be too difficult to operate and would probably break eventually.
This fix is a little messy and somewhat permanent, but it got my switches working again.
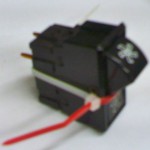
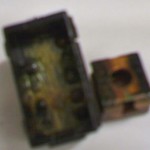
First, take the switch completely apart noting the orientation. There are two flat springs that hold the switch in the control panel, be sure to look for those if they’re still not on the switch. If the switch is still intact on one side, carefully pry it open. Use grain alcohol to clean out the old sticky grease. A q-tip may work, but you might need something a little more aggressive. Burnish the contacts and the spring loaded contact plate with high grit sandpaper if there is any oxidation. Put a light coat of lithium grease on and around the contact plate and inside of the switch with a q-tip. Also put a little lithium grease on the back of the rocker switch. A little will do a lot. Use a couple of small cable ties to get the switch back together noting its orientation. Test out the terminals for continuity with the switch positions. Operating the switch should be much easier now.
Using JB weld or similar resin/hardener apply to the tab areas and smooth while the switch is held together with the cable ties. If the retainers for the flat springs have broken, apply a little there too. Keep in mind that its going to need to still fit through the rectangular hole in the control panel as well as into the wiring harness. JB weld sets up in a few hours, but you should not operate or install the switch for at least 24 hours to allow it to cure.
