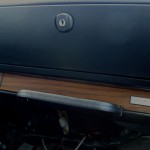
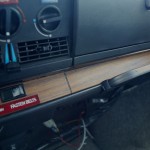
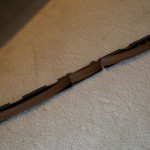
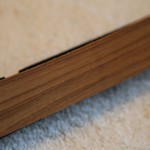
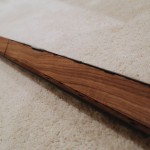
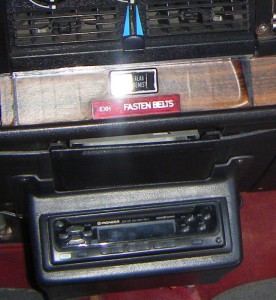
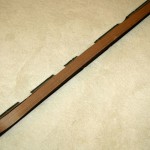
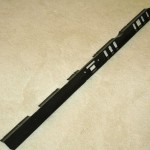
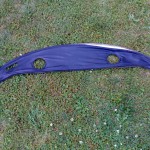
I’ll include a photo of the switch panel section as well. I ended up using the teak wood since it looked and smelled great. I imagine on hot days the car is going to smell of teak rather than gasoline! Teak was a little tricky because it tended to chip and splinter much easier than the walnut test did. I used 600, 1200 and finally 2000 grit sand paper with linseed oil and wax to finish.
Teak iron on
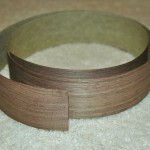
I decided to go with Teak laminate rather than Walnut. Teak has a nicer grain, and smells good too. However, it does seem a little more difficult to work with. I’ve ironed on the laminate and will cut out the switch holes and sand.
rebuilding the lower console
I was sorting through the parts boxes and I really have a lot of detail work to get done as re-assembly is going to go pretty quick.
The original lower console from about 1972 on used a paper strip of simulated wood. Unfortunately this paper peels, fades and shows the outlines of some of the optional openings in the lower console.
There are some really great wood laminates available today and I found a roll of 1/32″ (or so) thick REAL walnut which is thick enough to be sanded and finished, but thin
enough that it can be trimmed with a sharp knife or crafting small saw.
I’ve also been going through all the switches and cleaning out the old sticky brown great with fresh lithium grease. That old grease is actually a big problem, especially for the most used switches like the fan and light switch. They get hard to operate and can end up breaking. In fact, this is what happened to the fan switch. The contacts needed to be burnished and it had to be sealed with JB weld as the clips had broken.
more to come from this later …
removing the dash pad
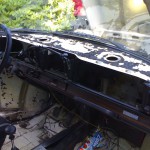
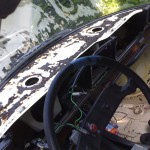
It is very rare to find a 99 or 900 from the 70s or even the 80s without shrunken, wrinkled dash pad syndrome. Removing the dash pad is a bit involved, with the vents creating the biggest puzzle. The Haynes manual only suggests that you ‘prise’ them up. But there are two orientation posts and two press in lips diagonal from each other that allow the vents to snap in the dash. The vents are not identical, but are mirrors of each other.
You’ll need to remove the pad above the glove box (which includes the entire glovebox), the pad above the instrument cluster and the coin holder. The dash pad is held on to the metal dash with a large amount of rubber contact cement. I used a scraper to pull up the dash. A heat gun (or a hot day) would probably help. Be careful not to drive the scraper into your windshield seal.
I think most people assume the vents can be rotated and they try to force them and end up breaking them. Once I found the lips I very carefully pushed one side of the vent from under the dash pad with a scraper. Once I had one side up and the two orientation posts clear, I rotated the vent around so I could get the other lip clear. Other than that, removing the dash pad went well.
Clean up is a bit tedious, but you can roll up the remaining contact cement by hand which is faster and safer than scraping it or trying to dissolve it.
