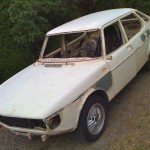
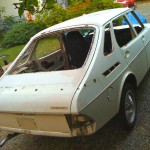
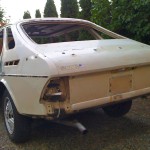
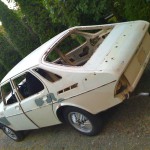
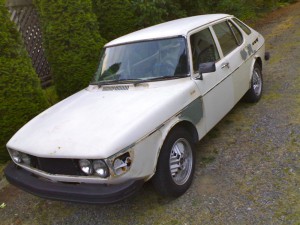
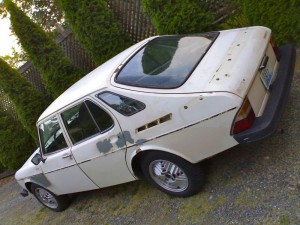
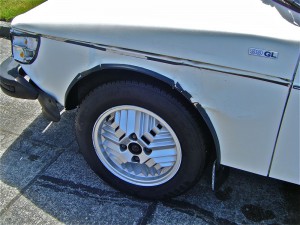
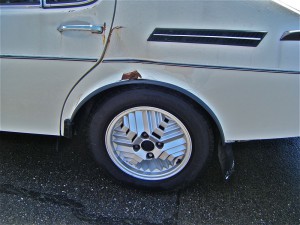
April 26, 2013

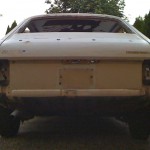
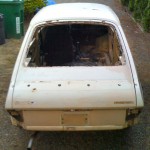
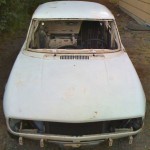
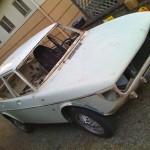
finishing up – air dam, visors, EGR removal

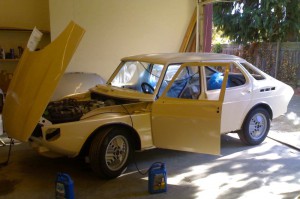
Wow .. really finishing up? Yes! It is very close. The next few things I have to do are:

– install heater controls (I’m building a control from two broken units)
– install reverse lock out
– paint and install grille
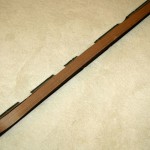
– install wood for switch controls
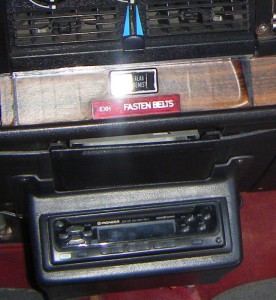
– install all the dash bits.

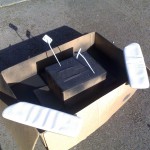
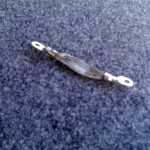
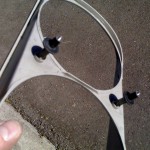
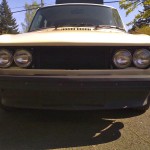
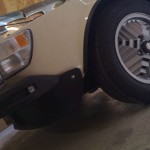
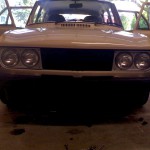
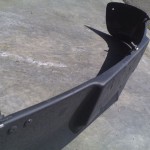
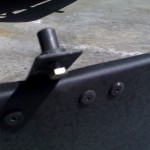
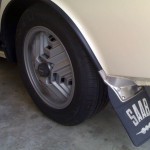
On the air dam I used rubber well nuts for all the fittings except for the lower bracket. I also used well nuts to attach the head light bezels. Rubber well nuts are suggested by the shop manual. On the air dam it really makes sense, because you want it to be shock mounted rather than rigidly. The sun visors were cleaned and the arms/mounts were painted. For the EGR removal I had to replace the compression fittings with a cap. The threads are fairly standard for compression fittings. I used high temp RTV on the threads and it seems to be holding. If you want to do this, I highly recommend you use AEROKROIL on the outer thread only. You want to remove the compression fitting for the tubes, but do not remove the fitting to the manifold. It most cases those fittings will have threads that are fused to the manifold. The size of the caps are 5/16″. My friend Erik in Sverige sent me very early 1970s mud flaps. I like them quite a bit.

Here is what went on today..
September 8, 2012

upp och gå!

I finished up the basic wiring, replacing a few of the crimp on connectors and started up the motor. There was still water in the block, but I needed to add coolant for the radiator and heater. There is a bleed nipple near the heater valve which I ran a hose from to the coolant jug. I ran the car for about 30 minutes to let the thermostat open to cycle the water and force the air out. It took just over one jug of new coolant. The system was flushed April before last when the water pump was rebuilt. The new fan switch and the serviced fan worked great. I had installed a switch that operates at 92C and thermostat which operates at 88C. There are ones that operate at cooler temps, but after I had the header core rebuilt and removed the intake bellows ‘anti-freeze’ collar (which was 100% blocked anyway!) along with the flushed radiator, things should be running cooler. At idle temperature the fan would kick in for 25-30 seconds every couple of minutes, which seems very good.

I still need to get the EGR Proportional completely hooked up, but after that I can finish up with the engine and put the lights in place.

July 26, 2012

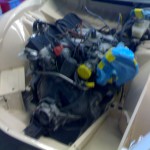
engine bay painted

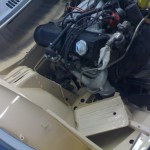
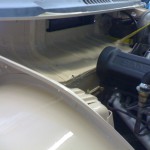
The engine bay is now painted and I can start to put things back together in there. (sorry for the cellphone pics)

February 27, 2012

rebuilding the lower console

I was sorting through the parts boxes and I really have a lot of detail work to get done as re-assembly is going to go pretty quick.

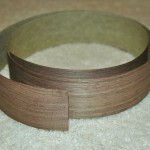
The original lower console from about 1972 on used a paper strip of simulated wood. Unfortunately this paper peels, fades and shows the outlines of some of the optional openings in the lower console.

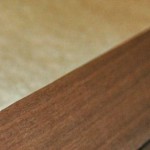
There are some really great wood laminates available today and I found a roll of 1/32″ (or so) thick REAL walnut which is thick enough to be sanded and finished, but thin
enough that it can be trimmed with a sharp knife or crafting small saw.

I’ve also been going through all the switches and cleaning out the old sticky brown great with fresh lithium grease. That old grease is actually a big problem, especially for the most used switches like the fan and light switch. They get hard to operate and can end up breaking. In fact, this is what happened to the fan switch. The contacts needed to be burnished and it had to be sealed with JB weld as the clips had broken.

more to come from this later …

October 2, 2011

Rear seat is finished

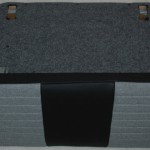
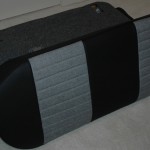
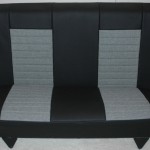
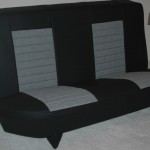
I picked up the rear seat today. The driver and passenger seat are still getting finished up with new seat and back trampolines. I think they really turned out great. The trunk fabric on the back of the back seat is what is going to be used on the floor panels and side panels of the trunk. There are a few ‘manila brown’ pieces which I plan to paint with a good enamel and cure in a low temp drying oven. The two side panels that fit over the wheel arches in the back seat area are getting painted at the body shop with a very durable paint.

September 19, 2011

Experiment in refinishing turn signal reflectors

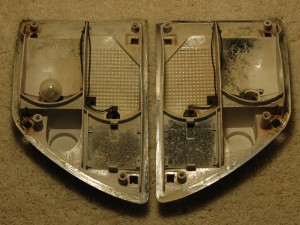
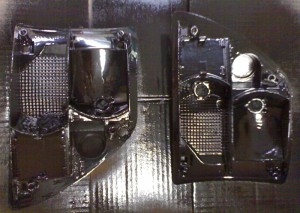
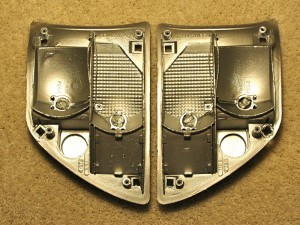
Before I found the old new stock turn signal, I got a pair of front turn signals that were complete, but were pretty weathered. I started searching on how to refurbish the reflective surface of the light cluster and found a couple of options. Unfortunately the only right way to do it is expensive and uses the same method of applying a thin metal film just as it was done during the manufacturing process. Some people suggest “chroming plastic” which is a little cheaper. Others suggest using two coats of Krylon high gloss black plastic paint as a base and then two coats of “brilliant” silver paint. So I tried that, and after letting the clusters air dry, I put them in a low temp drying oven for a few hours.

Before:

After Krylon High Gloss Black for plastic:

After Krylon Brilliant Metallic Silver paint:

I’m concerned at how well it will hold up, but we’ll see. It definitely is reflecting light better.

July 31, 2011

to the media blaster on Monday

This is about as stripped as she is going to get before the media blaster does the rest. I am not pulling the engine or getting the interior blasted except for the exposed wings and door jambs where there are rust issues.

Tow truck arrives @ 11am Monday

July 18, 2011

next to last view before media blaster

Glass is coming out next … nice to see the lines coming back on the left side.

April 20, 2011

a look at the damage

The main damage to the body is on the left fender, left rear door and lower left quarter. The fender will have to be replaced, but the door and left rear quarter can be pulled back out. These photos have high contrast to try and show detail of the damage which is still hard to see.

April 10, 2011

A closer look


The turn signal indicator lamps have deteriorated due to exposure to the sun, water and moss. They’re supposed to be reflective silver, but they’re bleached white and literally crumble when touched. This part is interchangeable with the 99 and 900 between 1977 – 1980 (I believe).

The same goes for the tail lamps, though the lamp housing is a little more intact. The lenses are compatible between 1977 and 1980. After 1980 they get a little larger.

But these aren’t really the major issues .. 🙂