Metal vs. plastic .. metal is easier to bring back to life.
August 24, 2013


June 30, 2013
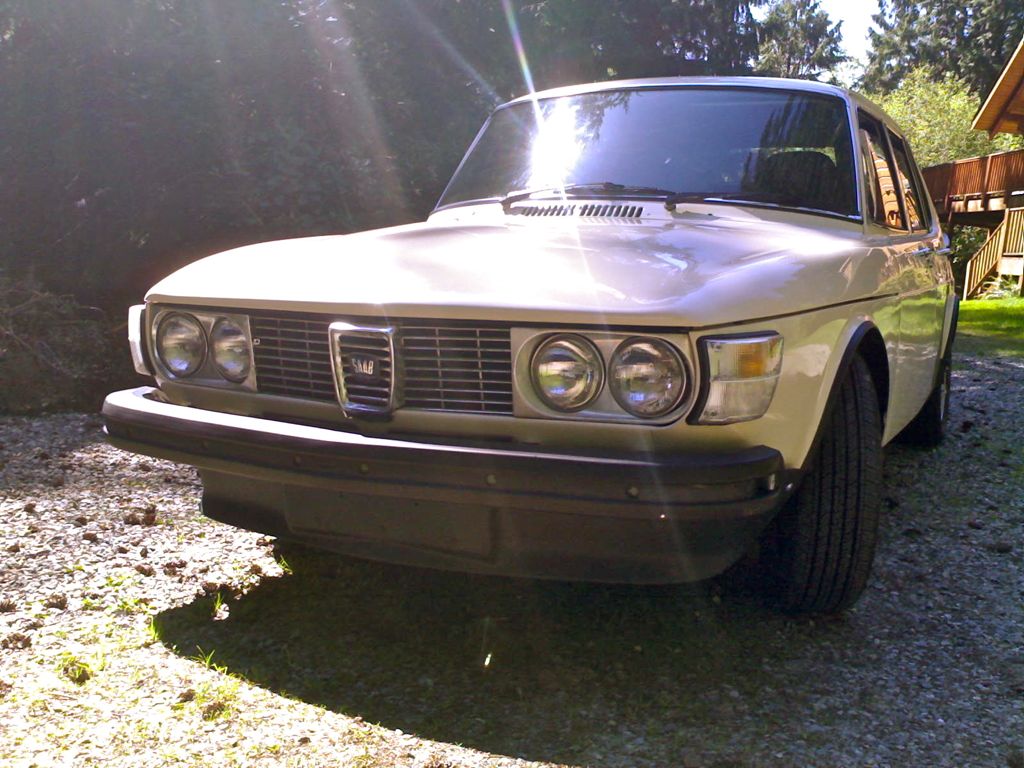
Greenwood Car Show 2013
Possibly 800 cars of all sorts there and maybe 2500+ visitors. Thanks to the Volvo club for letting me park my SAAB with them.


June 5, 2013
Ready for June 8th at the Swedish Club?
Just about everything has been finished up. I’ve got the dash finished up, hood latch working and the original style grille temporarily installed. The short list of what is left:
1. bumper stainless steel strips – need to make custom brackets to accommodate them on the later 1970s bumpers
2. adjust the doors and hood so they hang more properly
3. install side molding
4. paint and install badges


June 2, 2013
control panel in
I’ll include a photo of the switch panel section as well. I ended up using the teak wood since it looked and smelled great. I imagine on hot days the car is going to smell of teak rather than gasoline! Teak was a little tricky because it tended to chip and splinter much easier than the walnut test did. I used 600, 1200 and finally 2000 grit sand paper with linseed oil and wax to finish.


May 24, 2013
Teak iron on
I decided to go with Teak laminate rather than Walnut. Teak has a nicer grain, and smells good too. However, it does seem a little more difficult to work with. I’ve ironed on the laminate and will cut out the switch holes and sand.


May 12, 2013
Wood test #1 – does it work?
The original wood trim for the control switches is essentially a picture of wood on thin contact paper. Over the years this paper can become damaged and begin to peel. This was one of the projects I was really looking forward to. I got a short roll of pre-gummed real walnut wood laminate and cut a test piece to mount on a spare center control plate. I measure the gap and cut the wood using a pair of shears and then trimmed it using a paper cutter. I then used a banding iron on medium high to activate the glue. I do not know the exact temperature where the glue becomes active, however I know that it is higher than a locked up car on a summer day.
After the glue cooled, I sanded the wood and applied a thin coat of linseed oil. When I do this for the real deal, I’ll likely sand from 600 to 1800 grit and use linseed oil and wax to finish. I was concerned that the linseed oil may affect the glue, but it does not seem to affect the bond.
Before:
The test piece:


May 6, 2013
Going back to the 1960s …
The first plastic grille in the 99 was around 1973 and it was a beefy piece of plastic. At some point someone at SAAB thought that was unreasonable and that all 99’s should have a cheap plastic grille that has made them very rare in recent history. I have 3 plastic grilles, no make that 4, all of which have varying degrees of broken to them. When a 1969 all metal setup was made available, I could not pass it up. However, I was skeptical at first until I fitted on. I quite like it.
Before (as found):
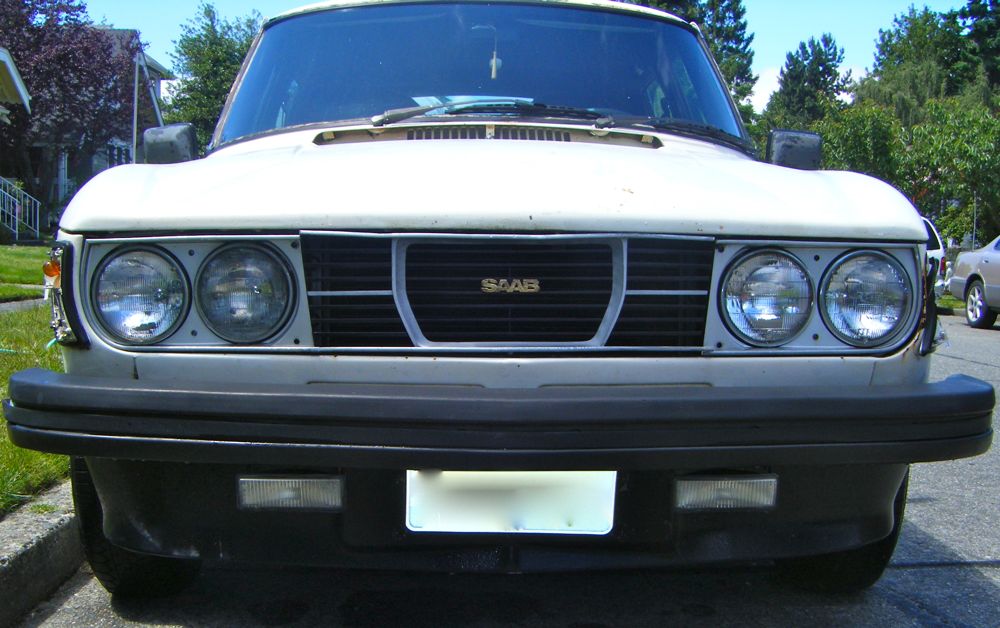
Now:
May 1, 2013
front alignment done
No pictures, but had the front alignment adjusted as it was out quite a bit. This was done by Foster’s Frame and Axle in Georgetown (recommended by Troll Motors). Drove the car about 60 miles afterwards .. it keeps getting better and better.
caster: (L)1 3/4, (R)-2 adj (L)1/2, (R)1
camber: (L)-1/4, (R)-3/4 adj (L)1/4, (R)-1/4
toe-in: 1/8 adj 1/16
April 30, 2013
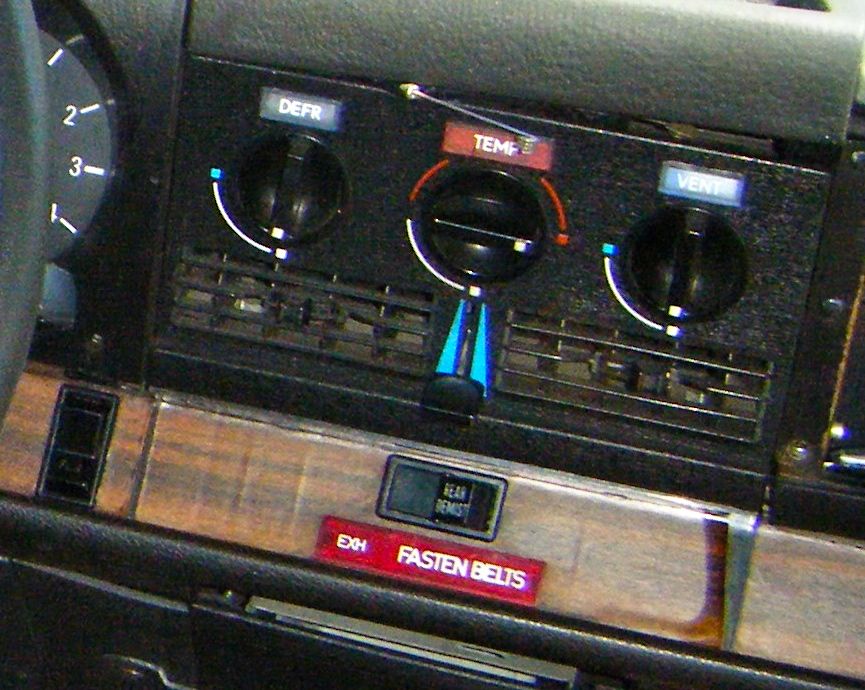
dash pad, upper dash and heater controls installed
Installed the dash pad, heater controls, cluster pad, tidy box and glove box. The heater controls must be installed first, followed by the tidy box. You can then install the two A pillar covers and then the glove box and cluster pad. On the heater controls, the heater valve is typically broken. On my controls both the heater and vent control posts were broken. The cables were disconnected and are normally held in with friction clips. However, the clip mounts were broken. What I did was clean up the ends of the cables (both ends) using an emery cloth and then lubricate them. I then tapped two coarse thread screws with washers to hold the cables in place. This worked surprisingly very well. I was able to use one screw/washer with the heater control and the defrost control. I used two control boxes to make one good unit. They are glued shut, so with some care you can pry one open to get at the gears. Plastic on plastic is bound to bind. I used lithium grease for both the cables and control box gears.


April 26, 2013
finishing up – air dam, visors, EGR removal
Wow .. really finishing up? Yes! It is very close. The next few things I have to do are:
– install heater controls (I’m building a control from two broken units)
– install reverse lock out
– paint and install grille
– install wood for switch controls
– install all the dash bits.
On the air dam I used rubber well nuts for all the fittings except for the lower bracket. I also used well nuts to attach the head light bezels. Rubber well nuts are suggested by the shop manual. On the air dam it really makes sense, because you want it to be shock mounted rather than rigidly. The sun visors were cleaned and the arms/mounts were painted. For the EGR removal I had to replace the compression fittings with a cap. The threads are fairly standard for compression fittings. I used high temp RTV on the threads and it seems to be holding. If you want to do this, I highly recommend you use AEROKROIL on the outer thread only. You want to remove the compression fitting for the tubes, but do not remove the fitting to the manifold. It most cases those fittings will have threads that are fused to the manifold. The size of the caps are 5/16″. My friend Erik in Sverige sent me very early 1970s mud flaps. I like them quite a bit.
Here is what went on today..


