May 12, 2013

Wood test #1 – does it work?

The original wood trim for the control switches is essentially a picture of wood on thin contact paper. Over the years this paper can become damaged and begin to peel. This was one of the projects I was really looking forward to. I got a short roll of pre-gummed real walnut wood laminate and cut a test piece to mount on a spare center control plate. I measure the gap and cut the wood using a pair of shears and then trimmed it using a paper cutter. I then used a banding iron on medium high to activate the glue. I do not know the exact temperature where the glue becomes active, however I know that it is higher than a locked up car on a summer day.

After the glue cooled, I sanded the wood and applied a thin coat of linseed oil. When I do this for the real deal, I’ll likely sand from 600 to 1800 grit and use linseed oil and wax to finish. I was concerned that the linseed oil may affect the glue, but it does not seem to affect the bond.
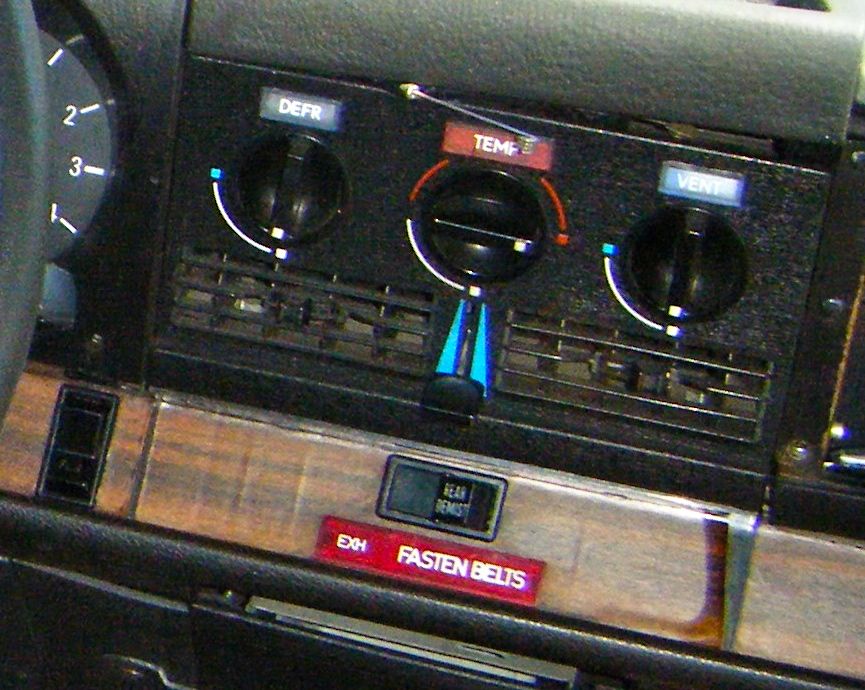
Before:

Saab 060

The test piece:

May 6, 2013

Going back to the 1960s …

The first plastic grille in the 99 was around 1973 and it was a beefy piece of plastic. At some point someone at SAAB thought that was unreasonable and that all 99’s should have a cheap plastic grille that has made them very rare in recent history. I have 3 plastic grilles, no make that 4, all of which have varying degrees of broken to them. When a 1969 all metal setup was made available, I could not pass it up. However, I was skeptical at first until I fitted on. I quite like it.

Before (as found):
Saab 010

Now:

olsaab99

May 1, 2013

front alignment done

No pictures, but had the front alignment adjusted as it was out quite a bit. This was done by Foster’s Frame and Axle in Georgetown (recommended by Troll Motors). Drove the car about 60 miles afterwards .. it keeps getting better and better.

caster: (L)1 3/4, (R)-2 adj (L)1/2, (R)1
camber: (L)-1/4, (R)-3/4 adj (L)1/4, (R)-1/4
toe-in: 1/8 adj 1/16

April 30, 2013

dash pad, upper dash and heater controls installed

Installed the dash pad, heater controls, cluster pad, tidy box and glove box. The heater controls must be installed first, followed by the tidy box. You can then install the two A pillar covers and then the glove box and cluster pad. On the heater controls, the heater valve is typically broken. On my controls both the heater and vent control posts were broken. The cables were disconnected and are normally held in with friction clips. However, the clip mounts were broken. What I did was clean up the ends of the cables (both ends) using an emery cloth and then lubricate them. I then tapped two coarse thread screws with washers to hold the cables in place. This worked surprisingly very well. I was able to use one screw/washer with the heater control and the defrost control. I used two control boxes to make one good unit. They are glued shut, so with some care you can pry one open to get at the gears. Plastic on plastic is bound to bind. I used lithium grease for both the cables and control box gears.

April 26, 2013

finishing up – air dam, visors, EGR removal

Wow .. really finishing up? Yes! It is very close. The next few things I have to do are:

– install heater controls (I’m building a control from two broken units)
– install reverse lock out
– paint and install grille
– install wood for switch controls
– install all the dash bits.

On the air dam I used rubber well nuts for all the fittings except for the lower bracket. I also used well nuts to attach the head light bezels. Rubber well nuts are suggested by the shop manual. On the air dam it really makes sense, because you want it to be shock mounted rather than rigidly. The sun visors were cleaned and the arms/mounts were painted. For the EGR removal I had to replace the compression fittings with a cap. The threads are fairly standard for compression fittings. I used high temp RTV on the threads and it seems to be holding. If you want to do this, I highly recommend you use AEROKROIL on the outer thread only. You want to remove the compression fitting for the tubes, but do not remove the fitting to the manifold. It most cases those fittings will have threads that are fused to the manifold. The size of the caps are 5/16″. My friend Erik in Sverige sent me very early 1970s mud flaps. I like them quite a bit.

Here is what went on today..

April 24, 2013

Bye bye EGR proportional

There were several different ’emissions control’ systems implemented on the SAAB 99 engine starting in 1975. My car has one of the more reasonable designs which is called EGR proportional. Rather than using an air pump which can rob power, it uses a more passive ‘air pulse’ which recirculates exhaust back into the intake system.

I developed an exhaust leak and discovered that one of the pipes had cracked. I took it to Troll Motors and Nate made me feel confident that I should just remove it and cap off the fittings.

I’ll likely not remove all of the EGR proportional, but this piece has to go.

April 22, 2013

Swedish Car Show / Jazz Fest / Pancakes and lingonberries

At the Nordic Heritage Museum in Ballard there is a Jazz Festival every year and the Volvo club does a Swedish Car show. I had been talking with Dick Libby about showing the car here and then at the bigger event in June at the Swedish Cultural Centre for two years. No other SAABs were at the event, though Ingvar Carlson typically shows his cool 1960 93a. Lots of P1800, but I liked the 1953 444 best. Showing my support for bob hund with a örngott in the rear window.

April 19, 2013

bumper refurbishing

The bumpers were fairly dirty but I also discovered that they had been painted at some point. I cleaned them a few times using SuperClean and then followed up with lacquer thinner. This left the bumpers with a nice matte black look. The backing was media blasted by alternative blasters along with the car. I then had the brackets and fittings powder coated. Also took a picture of the instrument cluster in place and running.

April 17, 2013

seat headrest inserts and front bumper

The fabric headrests have been covered in the the faux leather vinyl. The front and rear bumpers were scrubbed and I discovered that they had been painted. I cleaned them with SuperClean and scrubbed them with a soft brush. That removed the paint and the rubber underneath was in very good shape. I’ll use a rubber conditioner and then I plan to install the steel bands after I clean those.

April 16, 2013

interior hatch, rear seats and door panels in

They’ve been fitted a few times, but now they’re in for good.