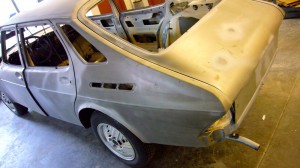
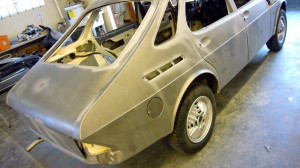
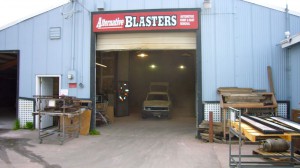
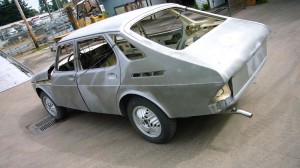
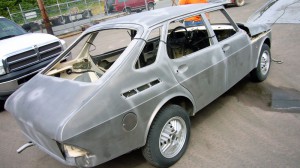
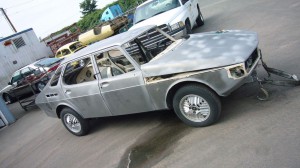
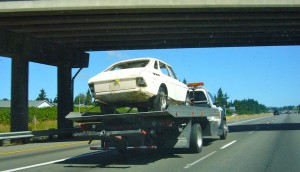
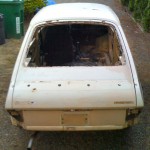
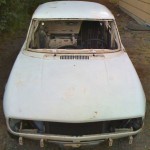
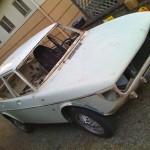
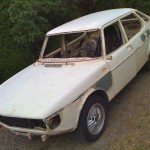
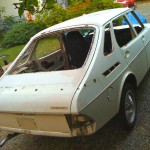
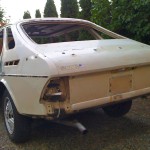
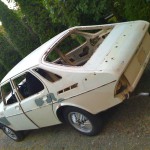
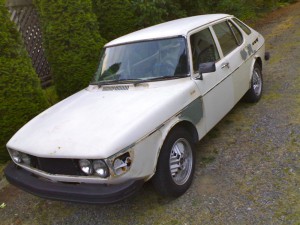
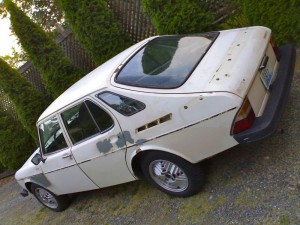
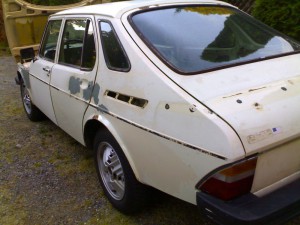
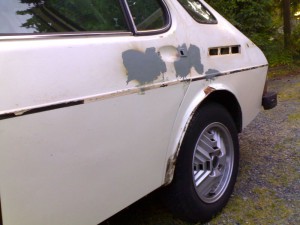
After getting blasted, it was important to get it down to the paint shop so it could be primed.
freshly blasted
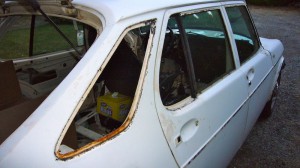
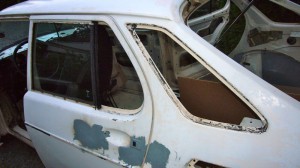
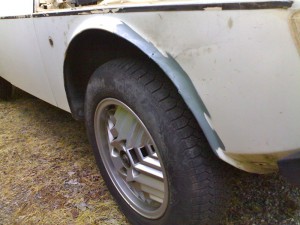
The blasting revealed the extent of the rust damage. Fortunately for the areas of concern it wasn’t as bad as it could have been. We did find new areas from a previous repair job on the left rear quarter and left rear door along with evidence of bondo. All the bondo was removed and any rust damage to the bottom of the doors will be patched with fiberglas.
to the media blaster on Monday
This is about as stripped as she is going to get before the media blaster does the rest. I am not pulling the engine or getting the interior blasted except for the exposed wings and door jambs where there are rust issues.
Tow truck arrives @ 11am Monday
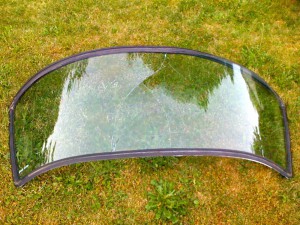
all glass out .. a saab story
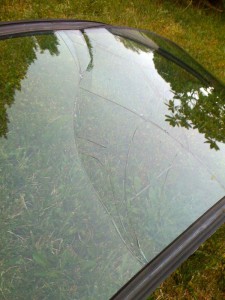
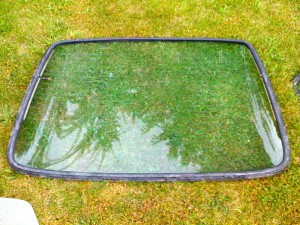
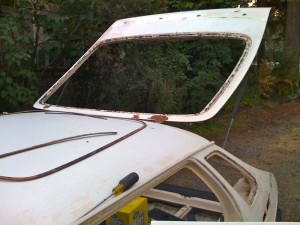
We took off just about all of remaining parts in preparation for media blasting including the glass. The windshields are known to be difficult and prone to cracking. I originally was on the fence about taking out the windscreen (all other glass though) but it only made sense if you’re going to take it this far, you have to address rust where it may lurk. I had my eye on several windscreens that were available but didn’t really have room to keep a spare. Well, now I have room. On the CAR! If the windscreen seal wasn’t rarer than the windshield it would have made sense to just cut it out and install a new one.
More pictures on Monday, it was getting dark and we were bummed about the cracked windshield.
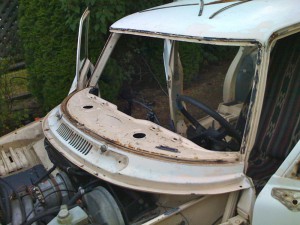
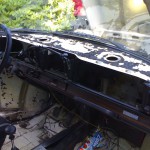
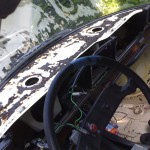
Note the rust in the channel, we knew it was there. With the dash pad residue off you can also see the original ‘cream’ or ‘marble white’ WH 02.
removing c-post and fixed rear door glass
To prep ourselves on the windshield removal, we got the c-post and fixed rear door glass out. Both of these are installed with lock strips. On the c-post glass, we pulled the lock strip out, but on the fixed rear door glass we were able to remove it with the lock strip intact. The plastic lock strip for the c-post glass is available through Restoration Specialties. The left side came out clean and looked good, but the right side has some rust under it.
Media blasting is scheduled for Monday August 1st, so we’ll be removing the remaining glass and trim on Friday.
cleaning up the instrument binnacle
The odometer was non-functional when I got the car, so the true mileage can only be estimated. However, based on service records, it must have broken recently around 87,000 miles. But its not just the odometer that is broken but also the odometer cable and it looks like both broke violently. The car came with a few extra instruments, mostly from newer SAAB 900 cars, but one cluster was out of a 1978 SAAB 99 EMS. Since the cars use the same instrument wiring loom, I was able to install the EMS Tachometer/Clock. I checked all the bulbs in the fuel/temp/idiot lights instrument and replaced two that had burned out. I installed the speedometer from the EMS cluster as well which shows the car at 129,457. I’ve been told there are ways to adjust it, but I’m not sure if I’ll try.
rough body work finished
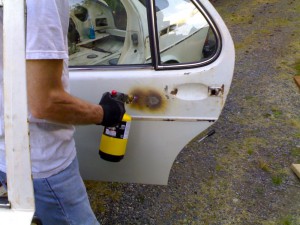
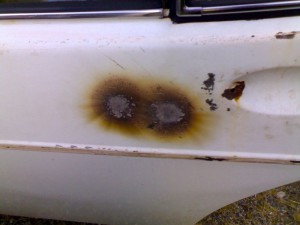
Dana feels that he has done what he can to rough the body and save quite a bit of time for the body shop. The primer is only there to protect the exposed metal from rusting when the sections were torched for shrinking. The next step is to pull the head liner, bumpers, lights, door mechanisms, wipers, window scrapers and glass then its off to the media blaster. I’m shooting to get it up there in the next two weeks.
removing the dash pad
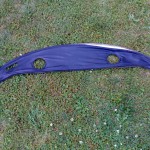
It is very rare to find a 99 or 900 from the 70s or even the 80s without shrunken, wrinkled dash pad syndrome. Removing the dash pad is a bit involved, with the vents creating the biggest puzzle. The Haynes manual only suggests that you ‘prise’ them up. But there are two orientation posts and two press in lips diagonal from each other that allow the vents to snap in the dash. The vents are not identical, but are mirrors of each other.
You’ll need to remove the pad above the glove box (which includes the entire glovebox), the pad above the instrument cluster and the coin holder. The dash pad is held on to the metal dash with a large amount of rubber contact cement. I used a scraper to pull up the dash. A heat gun (or a hot day) would probably help. Be careful not to drive the scraper into your windshield seal.
I think most people assume the vents can be rotated and they try to force them and end up breaking them. Once I found the lips I very carefully pushed one side of the vent from under the dash pad with a scraper. Once I had one side up and the two orientation posts clear, I rotated the vent around so I could get the other lip clear. Other than that, removing the dash pad went well.
Clean up is a bit tedious, but you can roll up the remaining contact cement by hand which is faster and safer than scraping it or trying to dissolve it.
