Sanding on Friday once its cured with some additional sealer, there are a few spots that need attention but over all its looking good.
May 31, 2012


May 24, 2012
Repairing broken switches
The headlamp and fan switch are notorious for breaking. This is due to a few of reasons: 1. They’re the most used, 2. The grease used in the switch hardens over time, 3. There are four retaining tabs that become brittle and break. Usually what happens is the switch gets difficult to operate and when forced it breaks its tabs on one side and pops open. They can also break when disconnecting the switch from the wiring harness.
Even if you find an intact switch, it may be too difficult to operate and would probably break eventually.
This fix is a little messy and somewhat permanent, but it got my switches working again.
First, take the switch completely apart noting the orientation. There are two flat springs that hold the switch in the control panel, be sure to look for those if they’re still not on the switch. If the switch is still intact on one side, carefully pry it open. Use grain alcohol to clean out the old sticky grease. A q-tip may work, but you might need something a little more aggressive. Burnish the contacts and the spring loaded contact plate with high grit sandpaper if there is any oxidation. Put a light coat of lithium grease on and around the contact plate and inside of the switch with a q-tip. Also put a little lithium grease on the back of the rocker switch. A little will do a lot. Use a couple of small cable ties to get the switch back together noting its orientation. Test out the terminals for continuity with the switch positions. Operating the switch should be much easier now.
Using JB weld or similar resin/hardener apply to the tab areas and smooth while the switch is held together with the cable ties. If the retainers for the flat springs have broken, apply a little there too. Keep in mind that its going to need to still fit through the rectangular hole in the control panel as well as into the wiring harness. JB weld sets up in a few hours, but you should not operate or install the switch for at least 24 hours to allow it to cure.


May 22, 2012
SAABs and minis dating
Dating saabs probably isn’t has hard as dating minis. Some late model minis were imported as older model years illegally to get around licensing and DOT restrictions. One way you might be able to tell what year mini you have is to look at the back of the Lucas wiper motor. Interestingly, SAAB 99s use a similar Lucas setup. My SAAB was built in the fall of 1976 as a model year 1977 and the Lucas wiper motor shows a 1976 build as well.
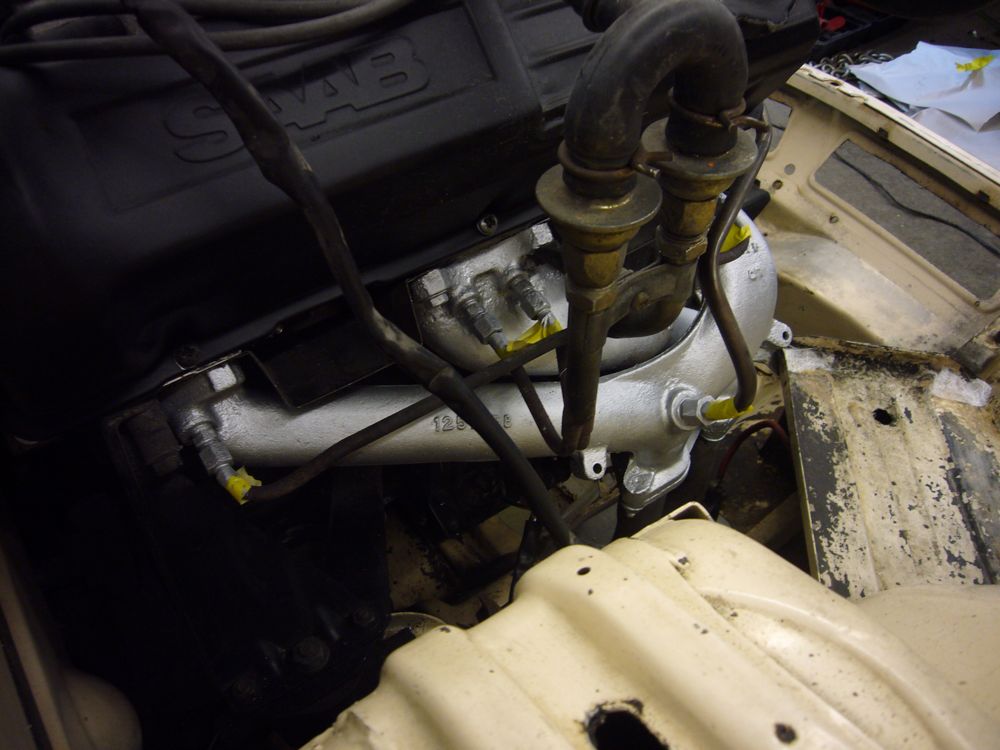
(after much cleaning .. too bad its crammed up in the cowling)

primer and sealer done
After priming, more sanding and sealer. Years of dings, dents and rust damage are gone.


May 16, 2012
hood and rear doors primed
The rear doors and hood have been corrected and primed. 3M Dyna-Glass fiberglass filler was used and sanded to smooth out the door skins and to repair areas where rust damage left holes after the media blasting. The majority of serious rust was in the lower portion of the doors where rain water tends to collect and stand. The LR door had the most damage as it was pushed in from a highway side collision, but you would never know it. The hood had some damage as well, but it was minor. There were also a number of little dents (probably from years or rocks hitting the hood) that were addressed.


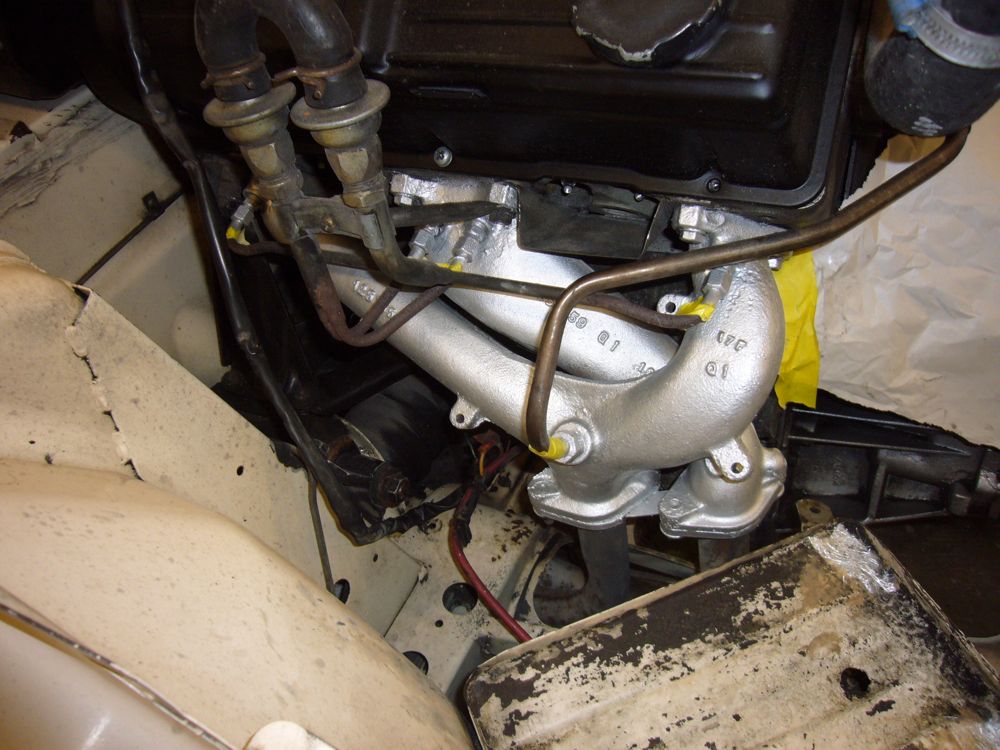
May 1, 2012
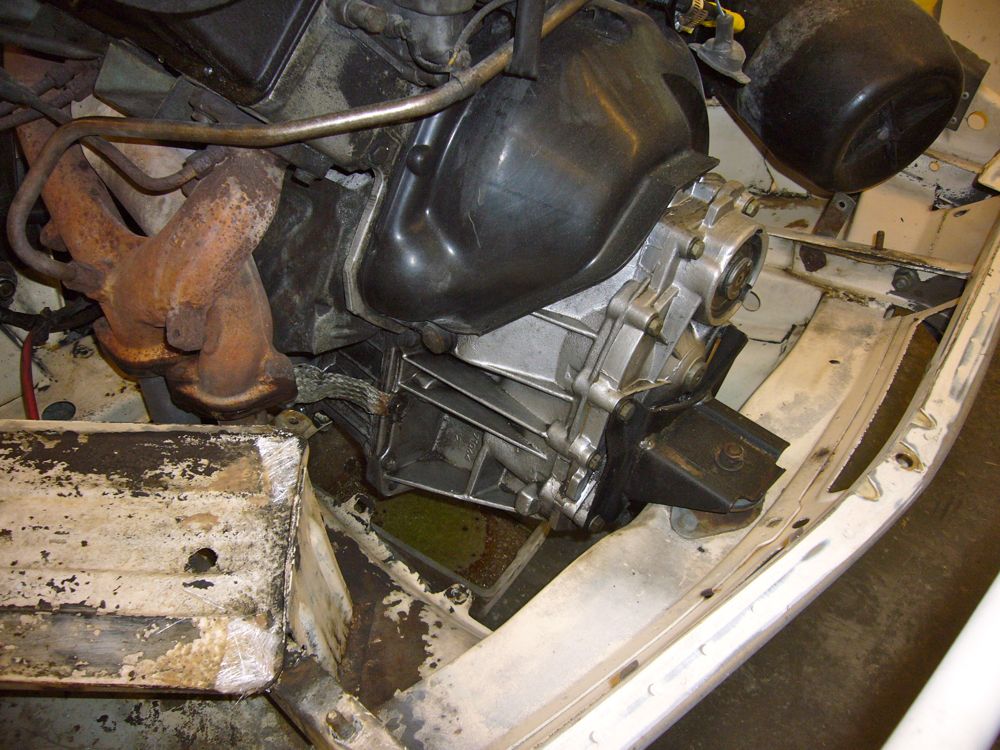
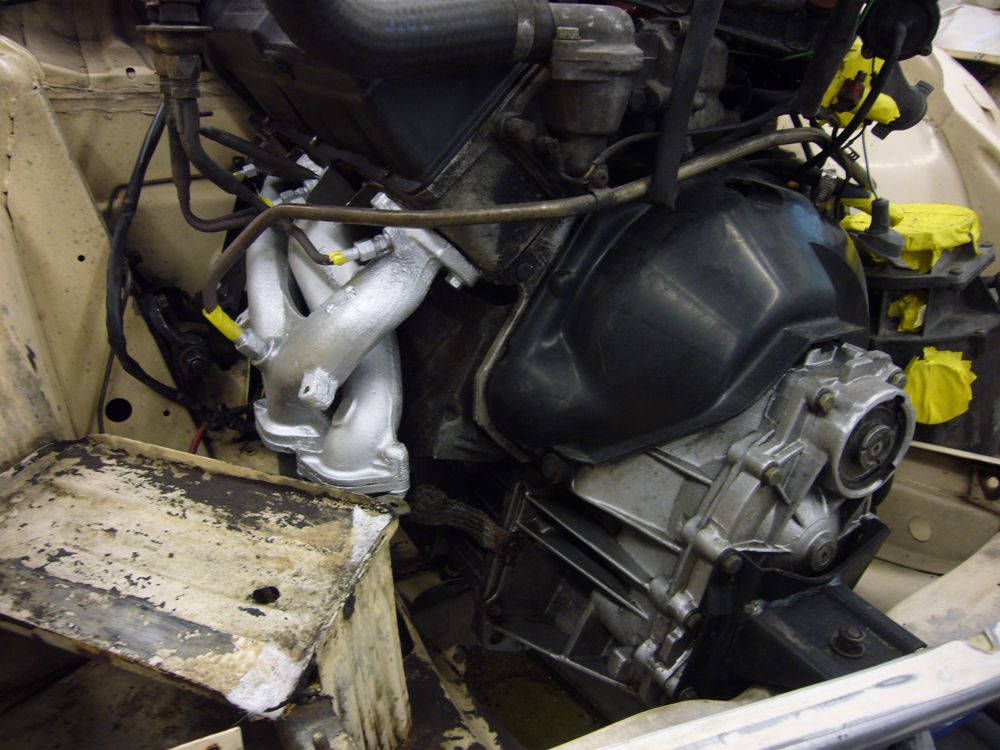
The rusty exhaust header
I’ve been working on the engine bay and decided to go ahead and paint the rusty exhaust headers. I chose to use brush on POR-20 which is a high temperature version of the famous POR-15 rust bond/inhibitor. It supposed to hold up very well.