June 30, 2011

repairing the left front fender

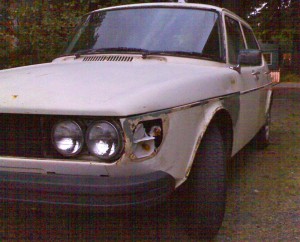
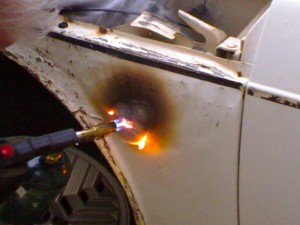
Dana felt he could straighten out the left front fender, so he got out his special tools and got to work. He really made great progress and basically saved a fender that many body shops said would be easier to just cut out and replace with a salvaged one

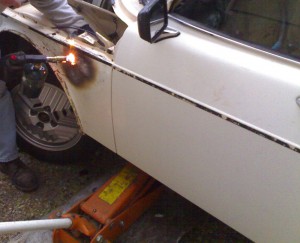
flame on

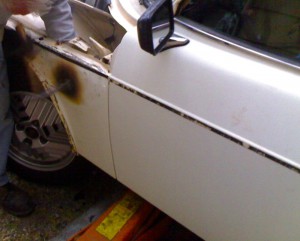
more flame

shrinking hammer and a dolly

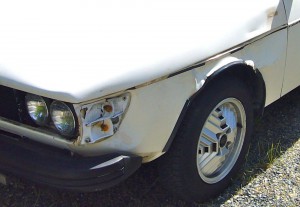
before (three main crumple areas indicator lamp, before and after wheel arch)

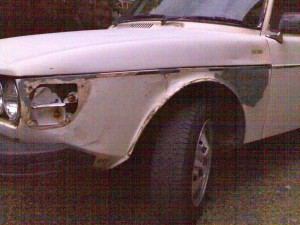
after

June 26, 2011

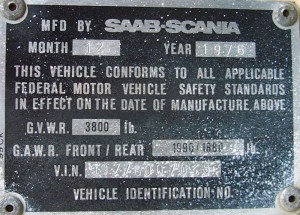
vin plate overspray clearing

Dana cautiously cleaned off the Earl Scheib overspray from the main VIN plate. We’ll try a few more things, but it’s more readable now. This one is coming off for the bead blasters and will get more attention at that point.

There is also a specification label on the door jamb which we’ll remove with a heat gun and apply to a sticker back temporarily.

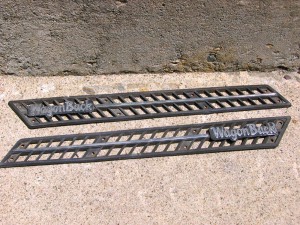
WagonBack vs. CombiCoupé

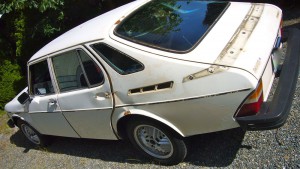
These vent louvers were a neat and unintentional find. I’d never seen these before, but I believe they were only on the US marketed hatchback 99s between 1974 – 1976. However, it seems that the WagonBack 99 didn’t debut in the US until 1976 [1]. Björn Envall is credited for coining the term CombiCoupé and most likely WagonBack as well. It’s not clear if these vent louvers were on any other model year, but I’ll put them on the car when its ready for them.

June 23, 2011

random ‘accessories’ removed

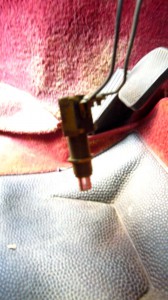
I removed several accessories today and a couple of surprises. When I dropped the three panels that mount under the dash, I found this dangling:

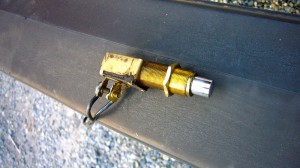
I put the car in neutral and pressed it .. it turned over the engine.

So… I removed:

aftermarket fog lights and broken switch
aftermarket push button starter
aftermarket radio and speakers
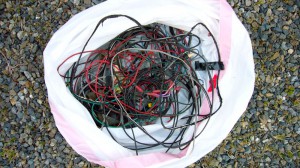
aftermarket antenna wiring
various other taps on the battery and miscellaneous wiring .. there is probably more

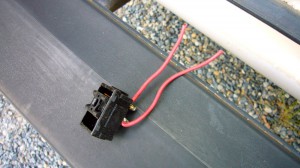
This is one of the SAAB switches that would normally be mounted under the binnacle. I didn’t find the rocker portion though.

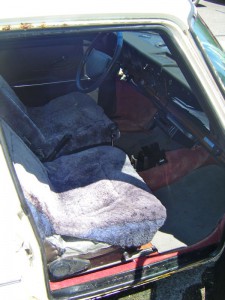
beneath the cookie monster seat covers

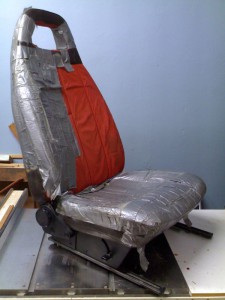
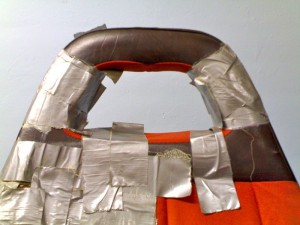
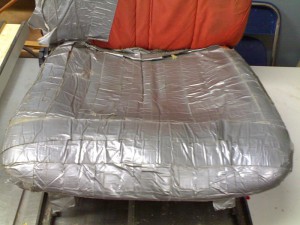
I didn’t want to look under the cookie monster seat covers until I had to. I was sure that the original fabric was worn, but I didn’t expect this!

The cookie monster seat covers were on top of another type of seat cover that was sort of like a burlap sack with a Santa Fe motif. The drivers side was basically the same but there was less duct work done on the rear seat.

June 21, 2011

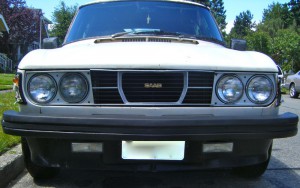
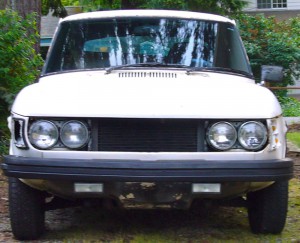
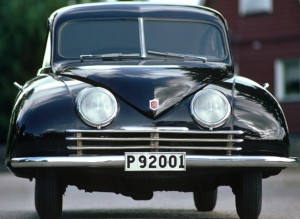
a familiar face

I removed the grille, head lamp surrounds, air dam, fresh air cowl and saw a resemblance.

June 17, 2011

door and rear quarter panel

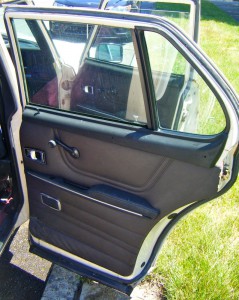
Thanks to a friend with years of experience in auto body work the door and rear quarter panel were pulled out and looking better. Just pulling out the quarter panel allowed the left rear door to be opened. Thankfully the inside of the door and door jamb shows no rust.

June 13, 2011

window lockstrips

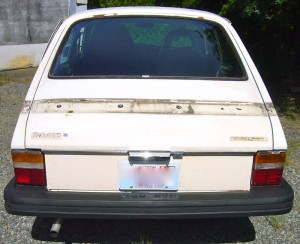
You can see from the photos that the lockstrips in the window seal gaskets are really weathered. Years of exposure to the elements causes the material to shrink, harden and discolor. In some areas it can shrink excessively (over 2 inches). I got a couple of recommendations for http://www.restorationspecialties.com/ from various people including members of the NWSOC.

On the 1977 99 5DR there are 3 sizes of lock strips. One for the windscreen, a smaller one for the rear window and an even smaller one for the rear quarter tear drop windows.

The samples arrived:
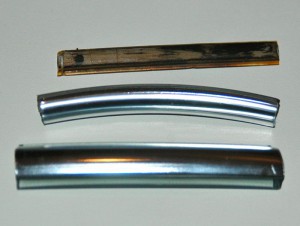
The top piece is an original from the tear drop window.
The center piece is WLS416 which may work for the door pulls
The bottom piece is WLS848 for the windshield

I’ve also been told to try WLS100 and WLS466 for the rear and side windows. Will update the post when I know.

It looks like they’ll have just what I need and thankfully the gaskets all look to be in good shape and can be reused as long as we take the glass out carefully. The center strip in the picture won’t work for the windows, but I found a use for it. The door pulls all have a plastic chrome strip that has also shrunk and become damaged. When I get around to restoring the interior, I’ll be sure to have several feet of it for them.
June 9, 2011

stripping down the car – session one

After some careful thought, consultation, second opinions et cetera .. I think the best route seems to be to strip down the car myself, get it media blasted and then have an independent body shop work on getting the car a new finish. Because there are several rust spots, media blasting will really help to make sure the car gets a proper foundation for a good paint job and even more important expose any issues that may be covered up with paint and bondo. Without taking care of the rust spots now, they’ll always be a problem.

Fortunately I have a good friend who has been in the business for about 35 years and has good contacts as well as tools/techniques and suggestions. We worked out a deal and got started on the car today. We should have it ready for Alternative Blasting sometime in early July.


(Took the door handle off to start working on the door and quarter panel)